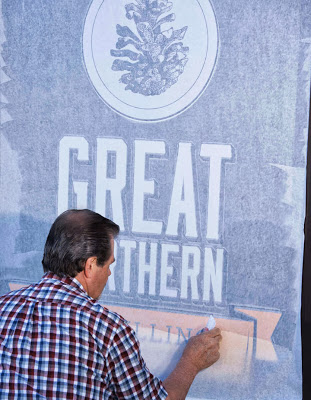
Vinyl window graphics provide retailers with several advantages over hand-painted graphics. Cost-effective machine-made graphics consistently reproduce a company’s image from one store location to another to another. The durability of cast vinyl film is also much greater. Paint systems typically provide three years of durability. If the right films are used, processed according to the manufacturer’s specifications, and installed properly, vinyl graphics can provide five to seven years outdoor durability.
Cast or Calendered Vinyl? Heat is just as damaging to vinyl films as UV light is. Prolonged high heat can prematurely age any vinyl film. But cast vinyl films are much more heat stable than calendered vinyl films. Most calendered vinyl films, especially the cheaper monomeric vinyl, just can’t stand the heat in warm climates. The picture of the calendered vinyl graphics in photo #1 was taken at a store location near Austin, TX on a window that was facing south. The baking heat of the summers in Texas caused the calendered vinyl graphics to crack and peel. Cast vinyl films are more expensive but they just last longer for demanding outdoor applications, such as window graphics.

If you are printing graphics, other factors can affect the outdoor durability of the finished product. Ink selection is one of those critical factors. The outdoor durability of most digitally printed graphics is typically limited to two to three years. Screen print vinyl inks can provide much longer service life, up to 5 to 7 years. Remember, though, that how well a graphic weathers depends on many environmental factors, such as exposure to UV light, heat, cleaning chemicals and air pollutants.
Color Selection. White and light colors are much more noticeable on glass than dark colors. Using large expanses of black or very dark colors is not recommended. Dark colors can absorb the sun’s heat, causing vinyl-covered glass to rapidly expand while cooler areas stay rigid. With part of the window expanding and other areas contracting, glass breakage is possible. Large areas of dark color next to regions of very light, reflective tones can also cause heat gain and glass expansion. Films with extreme gray-scale differences can result in glass fatigue and early failures. I recommend breaking up a design with different hues rather than using severe contrasts of light and dark.
Surface Prep. Prepping the surface prior to application of window graphics is a multiple part procedure. The first step is to wash the windows with a liquid detergent and water. After washing, rinse the surface with clean water and let the windows dry. Better yet, have your customer have the windows washed before you arrive on the job site.
After washing, carefully inspect the windows. To clean windows speckled with dried paint, use a razor blade and re-wipe the windows with alcohol.
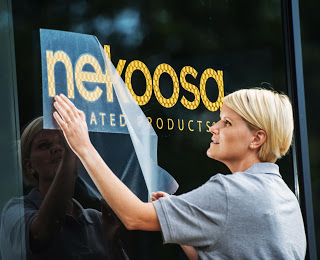
Wet or Dry Application? Dry application is the most effective way to install window graphics. In fact, most of the vinyl manufacturers will not warranty wet applications to glass. Anytime you add anything between the adhesive on the vinyl film and the substrate you are contaminating the adhesive to some degree. And that contamination can contribute to adhesion failure.
As a former installation subcontractor, I never liked applying graphics wet, because it slowed you down. Anything that slows you down is money out of your pocket.
Many sign makers refuse to attempt dry applications for fear of trapping small air bubbles. Squeegee marks on the adhesive side of the film are also common, but neither is a problem. Tiny air bubbles will breathe out of the film after a week of warm weather. Don’t speed up the process by popping these bubbles with a pin. The light shining through the pinholes will be visible from inside the store. Let time and temperature fix the problem. Squeegee marks also vanish once the adhesive has time to flow out.
-
Always sharpen the squeegee’s edge before beginning the application, making sure the edge is free of nicks. Small nicks generate small bubbles.
-
When masking, be careful. Wrinkles and bubbles in the application tape create wrinkles and bubbles in the applied graphic.
-
When squeegeeing, use firm pressure and overlap your strokes.
-
When removing application tape, pull it 180° against itself, taking care not to pull the vinyl from the window surface.
-
After removing the application tape, always re-squeegee the graphic. You will note that in my photos, I am using a Teflon squeegee. You can also cover a standard squeegee with a low friction sleeve. Or use a squeegee with a felt covered edge.
If you must do a wet application, use a commercial application fluid instead of a homemade concoction. Despite hearsay, Windex is not an acceptable application fluid.
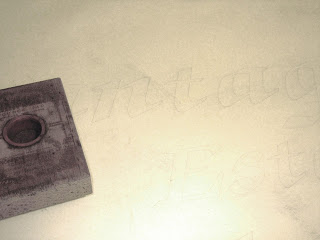
Step 1: Are you having difficulty seeing the cut vinyl copy? Make weeding easier by very lightly rubbing chalk dust from a pounce pad over the surface of the vinyl.

Step 2: Black chalk dust works great with white and many other vinyl colors. It isn’t much help with black vinyl. In these cases, use white chalk dust. Note: using black and dark colors is not recommended for window applications.
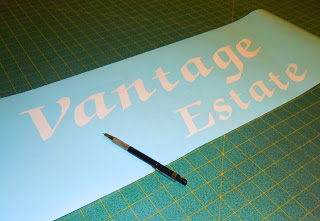
Step 3: With the matrix weeded from the cut vinyl, it’s time to apply the application tape.

Step 4: In the winter low humidity can cause static problems with application films. In these cases, lightly mist the non-adhesive side of the film with Rapidtac to kill the electric charge.

Step 5: Take care in applying the application film to the cut vinyl graphics. If you get wrinkles or bubbles in the application film, you will likely get wrinkles or bubbles in the applied lettering. (Note: the reason that you can’t see the AT60 application film in the photo is that it is crystal clear.)
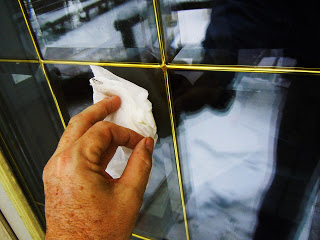
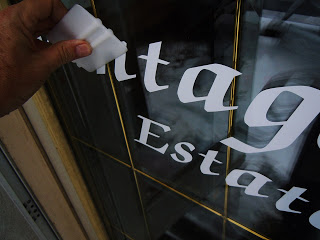
Step 6: Before applying the graphics, take care to thoroughly clean the glass using Isopropyl Alcohol (IPA). Windex is not an acceptable cleaner, because it contains surfactants and silicone which can cause adhesion problems.

Step 7: After prepping the window, use two pieces of masking tape to position the graphic on the window. Be sure to double check your measurements before applying the vinyl.
Step 8: To aid the application of the graphic, you can use a side hinge, taping the marking in place using 2” masking tape.
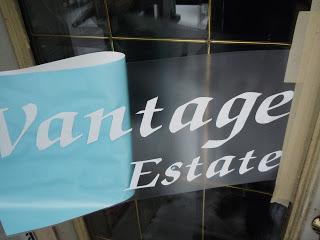
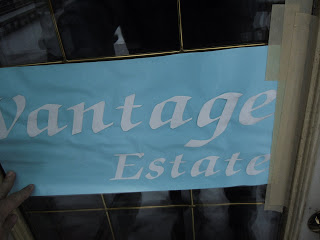
Step 9: Next, remove some of the release liner exposing the adhesive side of the vinyl letters.
Step 10: Using overlapping strokes, squeegee the graphic into place.
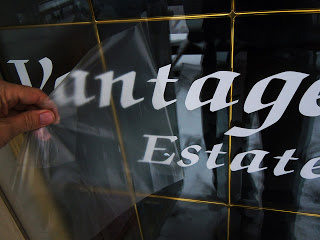
Step 11: After squeegeeing the lettering in place, carefully remove the application film, pulling it from the surface of the applied graphic at a 180⁰ angle.
Step 12: When performing any type of application, always re-squeegee the entire applied graphic to ensure that the lettering adheres well and to prevent any edge curling.

When installing window graphics, don’t apply vinyl over rubber gaskets or on the window frame. Film applied to these areas usually falls off. Allow at least a 1⁄8-in. space between the graphics and frame. Most window graphics shouldn’t be edge-sealed (perforated window-marking films are an exception). Some manufacturers, such as Avery, recommend protecting these graphics with an overlaminate. To complete the installation, seal the film’s edges by painting on the sealer with a fine-tip narrow brush, such as a #4 lettering quill. Using an overlaminate and edge sealer prevents water from collecting in perforations, which can cause edge lifting.


