Shortcuts can lead to problems. About 25 years ago I inspected a graphics failure on a corrugated trailer. The vinyl had lifted from the valleys of the corrugations and was cracking and peeling from the trailer surface. The installer had taken one of those shortcuts. He had tacked the graphic into position at the corners, allowing the film to bridge all corrugations. After heating the vinyl with his torch, the installer used a rivet brush to force the film into the valleys. Here’s the problem — vinyl will only stretch so far. Overstretching puts too much mechanical stress on the film. Sooner or later, the vinyl will lift or tent in corrugation valleys. To avoid these problems you should apply vinyl graphics in a relaxed state using the method described below.
1. Starting in the center of the emblem, squeegee the film to the crown of the corrugation. For most applications, professional installers prefer hard nylon squeegees, such as the 3M gold squeegees. Softer plastic squeegees, such as the 3M blue squeegees, however, are preferred for application to corrugations. The softer squeegee will bend and conform around the curved ridge or crown of the corrugation. See photo A.
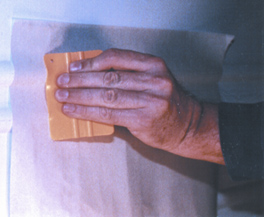
Photo A
Photo A.

Photo B
Photo B.
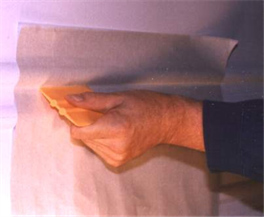
Photo C
Photo C.
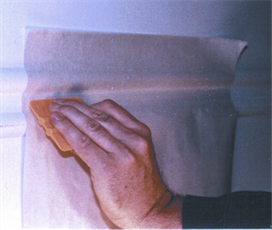
Photo D
Photo D.
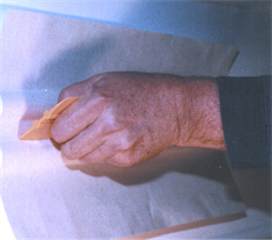
Photo E
Photo E.
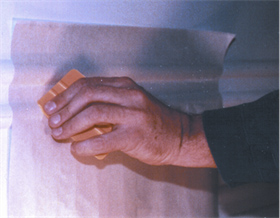
Photo F
Photo F.
8. After cutting the seams, remove the application tape by pulling it 180° against itself. See Photo G.
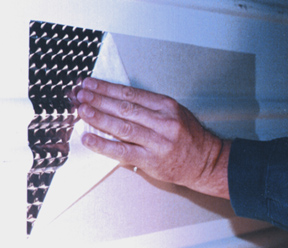
Photo G
Photo G.
10. Using an industrial heat gun or propane torch, heat the film and run the edge of a squeegee in the corrugation valleys. To prevent the squeegee from scratching or marring the vinyl surface, use a low friction sleeve. See Photo H.
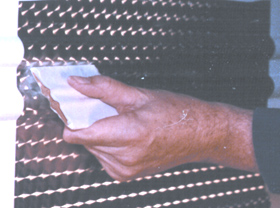
Photo H
Photo H.
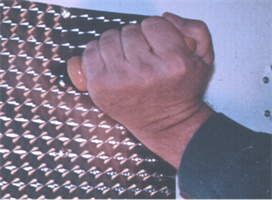
Photo I
Photo I.
13. Inspect your job and make sure that the vinyl conforms tightly to the rivets and corrugations.
14. Finally, pick up your mess.
For more information about graphics application, I highly recommend reading The Graphic Installers Handbook. This comprehensive guide to vinyl graphics installation is a “must have” resource for the beginner or seasoned professional. Written by Rob Ivers, the certification director for the PDAA (Professional Decal Application Alliance), the handbook covers every aspect of vinyl graphics installation. Contact Rob at www.robivers.com for more information about his book. Rob also offers PDAA certification classes as well as private graphics training.
As seen on hingstssignpost.blogspot.com


