Learn the basics about wall graphics application, including site survey, material selection, wall painting, surface preparation and vinyl application techniques.
By Jim Hingst @hingst_jim
For retailers, getting shoppers through the front door is part of the battle. The next challenge is keeping them there. According to industry studies, within 10 seconds of walking through the door, that shopper decides whether to stay or shop elsewhere.
In those precious few moments, the shopper immediately forms an impression about the store based on its appearance. Lighting, cleanliness, color and layout all make an immediate and indelible impression on the shopper. One effective way to give a store interior a facelift is a fresh coat of paint and colorful wall graphics.

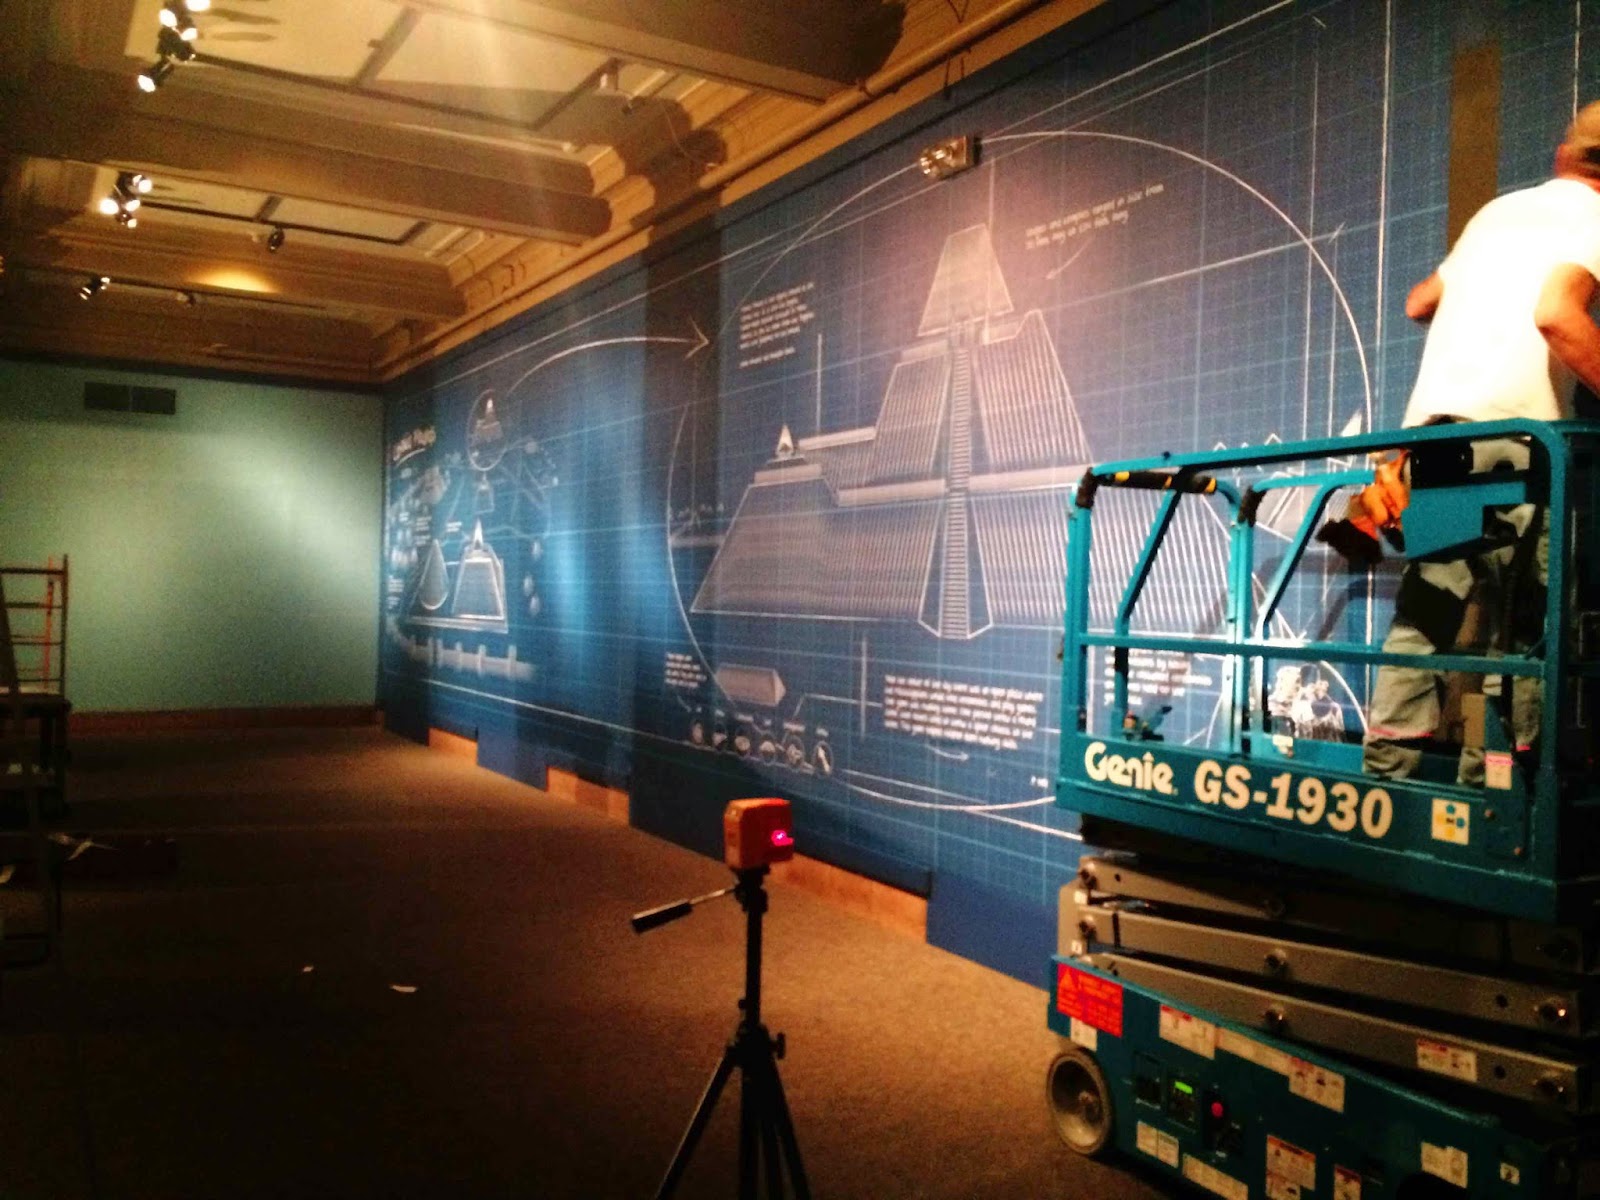
| Museums, health clubs and schools as well as stores are excellent candidates for wall graphics. In the picture above, a giant blueprint decorates the entire wall space in the Children’s Club House Project at the Missouri History Museum in Forest Park, Saint Louis, MO . Wide format printer, Novachrome , produced the mural, which replicates drawings of local landmarks. |
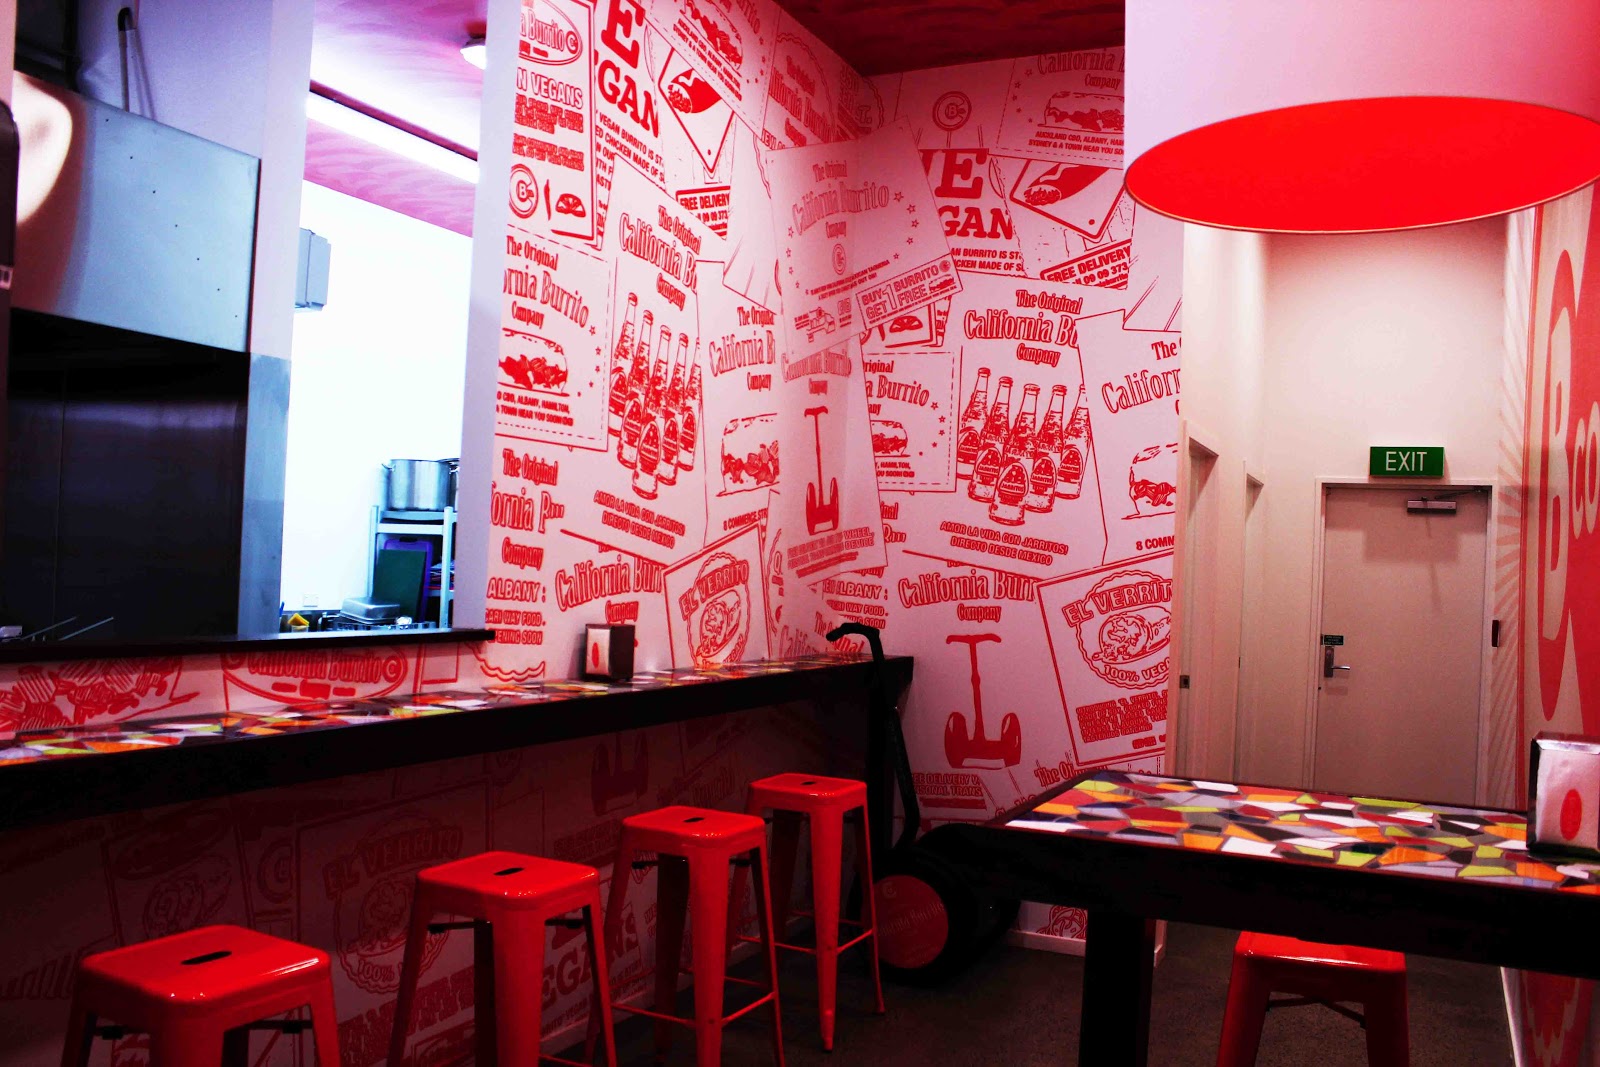
Wall graphics opportunities are not limited to store graphics. Museums, health clubs, schools, public buildings, day care centers and offices are also candidates for programs. Printed wall graphics can give an old location a new look overnight. By remodeling an environment it can also transform the attitudes of employees, students and visitors, giving them a new outlook on life.

| Olee Creative of Mishawaka, IN produced and installed the wall graphics for the South Bend airport. |
While painting and applying pressure sensitive graphics to flat surfaces sound easy, problems can and do occur. Successful graphics programs depend on selecting the right materials for the application and following a few simple application rules, which I will explain in this article.

| Olee Creative decorated the wall of the children’s play area of the McDonald’s restaurant pictured above. Perforated vinyl films were applied to the windows. |
Store Site Survey
One of the most important steps in any graphics program is conducting a site survey. Too often this step is conducted haphazardly or not at all. Before designing a graphic package, choosing materials or deciding on the most effective manufacturing methods, take the time to visit the store location or representative locations, if a large chain of stores is involved. By conducting a thorough investigation, you will better understand the requirements of the job.
In addition to recording basic information, such as the type of wall surface (concrete block, brick, industrial stucco and tile), the survey can also reveal any potential problems. The information that you or your sales people collect is critical in designing, estimating and production planning.
The survey is also an effective sales tool. Your professionalism in investigating the site and asking the right questions can help differentiate you from your competitors, establish a rapport with the prospect and construct your sales presentation.
As you survey the site, inspect the condition of the walls, carefully looking at the condition of the paint, areas requiring special cleaning and wall damage, such as nail pops and gouges. Wall damage as well as glaring imperfections in the coating of the taping compound over the seams, corners and nails will require the drywall contractor to apply a skim coat over these problem areas. Applied graphics over these imperfections will be very noticeable.
In the survey, be sure to record measurements and take photographs. Blueprints are a great help in estimating material requirements. Make note of any shelving which will need to be moved in the installation process. During the survey also inquire about times that store will be open for application of the graphics.
Walls stained from cigarette and cigar smoke or coated with grease from cooking require thorough cleaning. Walls painted with a matte finish latex paint must be cleaned and repainted with a semi-gloss or gloss paint.
When surveying a commercial jobsite, such as a restaurant or convenience store, also look for walls that back up to cooling systems, water pipes and overhead windows. These areas are prone to condensation, which can contribute to edge lifting and adhesion failure.
In addition to photographing any problem areas, also take pictures of any obstructions, that you will have to deal with in the application, such as windows, cooler cases, display cases and shelving units.
As you interview the owner or manager, probe to discover his objectives, preferences for color, plans for expansion and his budget. Also try to determine who your competitors are. If the program involves redesigning of the graphics, a portfolio of store graphics will help you communicate your ideas as well as stimulate a conversation that will help you better understand the likes and dislikes of the prospect.
Priming and Painting for Wall Graphics Applications
With no store traffic and no shelving and merchandise to move, application of graphics should be trouble free. It’s not! New construction has its own set of problems, especially when contractors rush to get the job done.
Painting over new drywall, which has not dried thoroughly, can trap moisture. Any moisture trapped under the paint can peel, crack and blister. Moisture is the primary reason that paint does not stick to drywall. And when the paint doesn’t stick, neither do the vinyl wall graphics.
After the drywall is sanded, wipe it down with a clean damp rag, moistened with a mixture of 50% Isopropyl Alcohol and 50% water. Failure to clean the walls properly often prevents the primer from properly adhering to and sealing the drywall. Walls are usually dry enough to paint after an hour.
Paint Primer Recommendations.
Paint primer is not just cheap paint. It serves two very important functions. I seals the substrate and it anchors the finish coats to the wall. Some of the popular primers on the market include Prep & Prime® Gripper® water-based primer sealer #3210 from ICI paints and oil-based primers by companies such as Kilz® or Zinsser®.
The advantage of an oil/alkyd primer is that it forms a moisture barrier, which helps prevent moisture from getting behind the applied vinyl, degrading the adhesive and causing the graphics to peel. One downside of using oil/alkyd primers is that they take longer to dry, so you will have to wait longer between priming and painting.
Paint Recommendations
Both the primer and the paint must be compatible. The general rule of thumb is that you can use either a latex or an oil-based primer with a latex paint; but you must use an oil-based primer with an oil-based paint.
After the primer is dry, apply two coats of a satin or semi-gloss paint. To reduce any stippling effect in the paint finish use a paint roller with a 3/8” nap.
Matte and satin latex finishes can be a problem, because the matting agents in the paints often inhibit the adhesion of the graphics to the wall surface. Graffiti-resistant paints are also problematic. Additives, such as silicone, that prevent graffiti from adhering, also prevent a film from adhering. Also, avoid using any paint that’s heavily tinted, because the surfactants and colorants that make up darker paint colors tend to need longer periods to leach or outgas.
Regardless of what brand and type of paint you’re using, make sure the paint is thoroughly cured before applying the vinyl graphics. Refer to the paint manufacturer’s recommendations regarding curing times. As a rule of thumb, allow the paint to cure for a week before applying any pressure-sensitive films. High humidity or cold temperatures can slow this curing process down, in which case, you’ll need to allow for additional curing time.
Surface Preparation Prior to Wall Graphics Application
Even newly painted drywall must be wiped down before vinyl application. Dust and other contaminants collect quickly on a wall and can prevent good adhesion of the graphics panels. In cleaning, wipe the surface down with a rag dampened with 70% Isopropyl Alcohol and 30% water. As a rag becomes contaminated with grime, replace it with a clean one. After wiping down the wall, wait a half an hour for the wall to dry thoroughly before applying graphics.
Older walls contaminated with years of dirt, smoke and grease must be washed with trisodium phosphate (TSP). (TSP is a very caustic cleaner. Before using carefully read the directions and the safety precautions and wear safety glasses and rubber gloves.)
Typically, about ¼ cup of TSP is mixed into a gallon of very warm water. Using a sponge, apply the cleaner to the wall surface. Drench a sponge in clean water, wringing it out until it is just damp. Wipe the dirt and grime from the wall. Finish the job, rinsing with a wet sponge.
Vinyl Film Selection.

There are a variety of choices for decorating smooth painted drywall. Heavier calendered vinyl with a removable adhesive is generally easier to install and these thicker films can hide imperfections on the wall surface.
Printed graphics should be protected with an overlaminate. The extra layer of film not only protects the printed image, but it also makes the graphic more rigid, so it is easier to handle during installation. When it comes time for new graphics, the extra thickness also aids removal.
To prevent scratching of the graphics during application and aid the installation of the printed panels, use a low tack application tape, such as RTape 4000. If you are applying plotter cut letters to wall surfaces, you will need a higher tack application tape, such as RTape 4078RLA. This new tape will transfer difficult-to-transfer films utilizing release liners with a tight release. After the graphics are applied, the application tape releases easily from applied graphics without pulling the graphics off of the wall surface.
Test, Don’t Guess.
In recent years, many new paint formulations have been introduced to the market. How well a pressure sensitive material adheres to a particular brand of paint requires testing. Some of the manufacturers may provide you with paint recommendations for their products. It is impossible, however, for film companies to test everything. For that reason, I suggest that you: Test, Don’t Guess.
Testing is also important to make sure the paint is thoroughly cured before applying the vinyl graphics. As a rule of thumb, allow the paint to cure for a week before applying any pressure sensitive films.
To ensure that the paint is cured and that the paint and pressure sensitive material are compatible, apply a 12” x 12” piece of material to an inconspicuous place on the wall. If your graphics will be printed and will utilize an overlaminate, your sample should be processed accordingly. 48 hours after applying the sample, inspect it for outgassing and adhesion to the wall.
Vinyl Graphics Application to Smooth Walls.
Link to Vinyl Application Videos
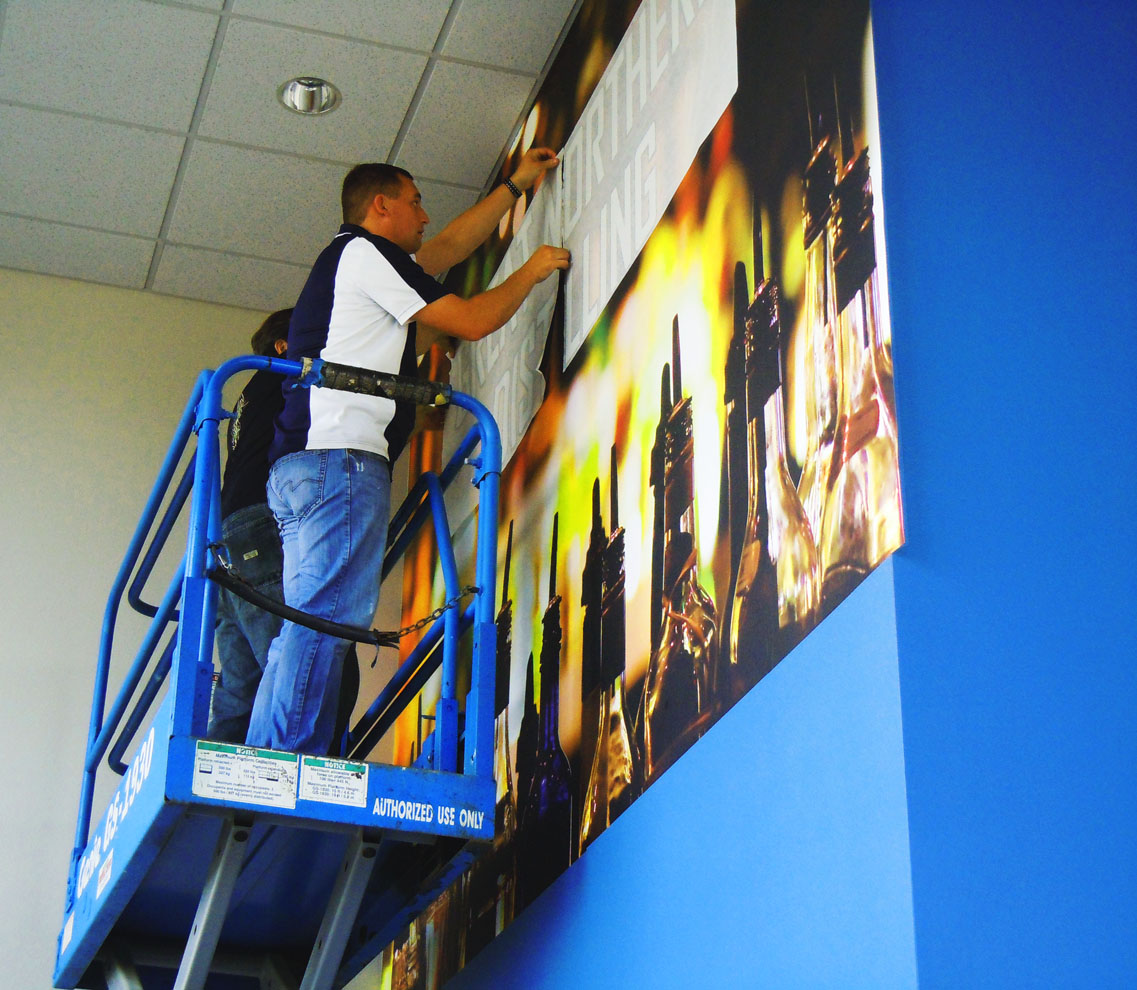
When applying vinyl graphics to painted drywall, always install the graphics dry. When applying a wall mural, many professional installers will first string a taut level line marking where the top of the graphic will begin. Do not snap a chalk line (which may not wipe off cleanly from the wall surface) or install vinyl graphics over a chalk line (which can contaminate the adhesive of the vinyl graphics).

Begin your application by peeling back the top few inches of the release liner. Position the vinyl graphic, tacking the material in place when you have the proper alignment. Starting at the top, squeegee the marking. Remove the liner as needed. Avoid repositioning the graphic as you work, because this can pull off any unsecured paint.
In applying wall graphics, start your stroke in the center of the marking and squeegee horizontally from side to side. Always use overlapping strokes. After removing the application paper, resqueegee the entire marking, especially the edges, to ensure good adhesion. After completing the application, inspect your work.
My video on squeegee technique covers the basics of vinyl application:
Graphics Application to Textured Walls.

| Photo Courtesy of Olee Creative. |
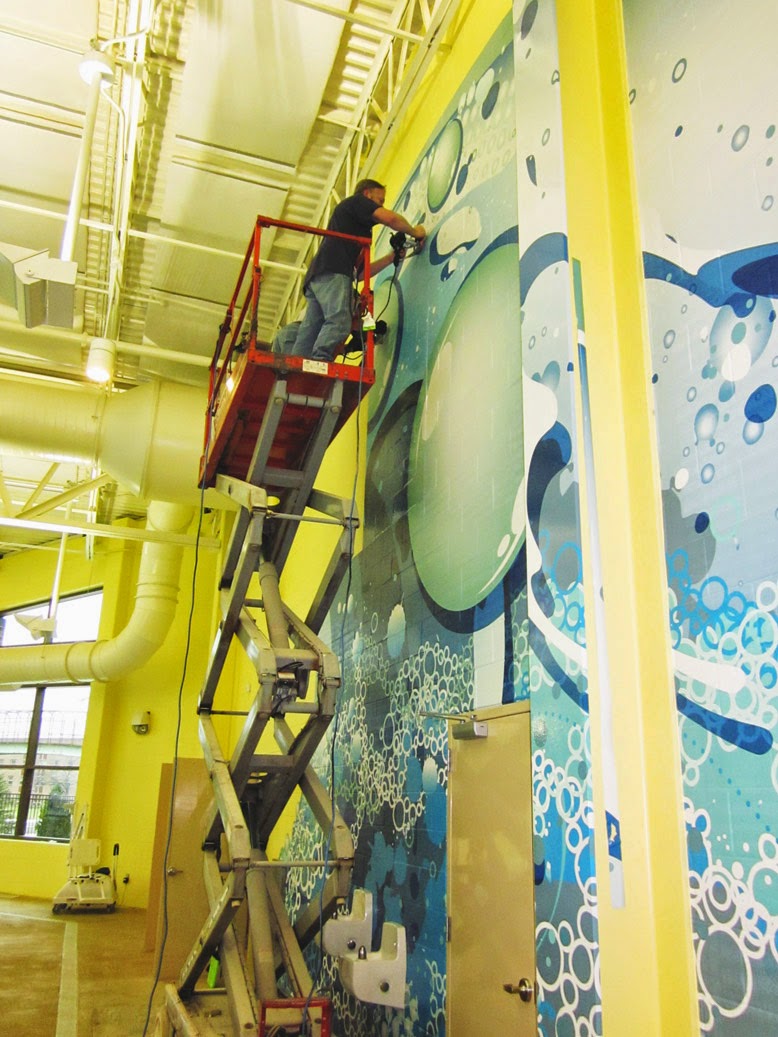
With the right film, the right application tools and the right techniques, you can apply vinyl graphics to textured wall surfaces such brick and concrete block. The key to a successful application to textured surfaces is using the right amount of heat to soften the film, allowing it to conform to the surface. Heat also softens the adhesive for better flow out over the surface. For these applications you will also need a special foam roller designed for vinyl application to textured surfaces.
The foam material used in these rollers is soft enough, so the tool can conform easily to rough textures. Heating the film at 1000ºF for a second is hot enough to break the memory of the film. The trick is to keep the roller moving at a rate of about two inches per second. See the photo below.
 Conclusion.
Application of pressure sensitive wall graphics is an easy way to transform a customer’s plain, old facility into an environment that is new and inspiring. Wall graphics can also transform your business with new opportunities. Applications to walls, even to textured surfaces, are not as rough as installing vehicle graphics outdoors on a trailer lot.


