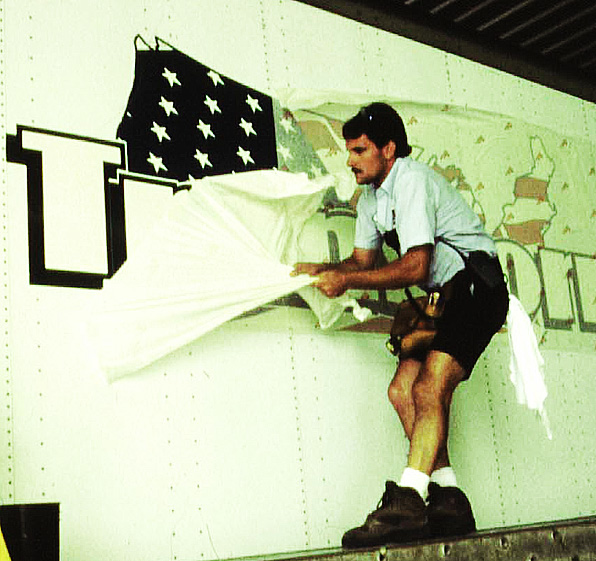
Applying vinyl graphics on vehicle surfaces with rivets is challenging for most sign makers. Vinyl failures to these surfaces are all too common. Here are some tips and procedures, used by professional decal installers, which will make these demanding applications easier and more trouble-free.
1. Choose a film with a repositionable adhesive.
In the summertime, when temperatures are high, adhesives will flow out more readily, which makes the graphics stickier. Often the adhesive sticks before pressure is applied. And once the graphic sticks, you are usually stuck.
You can really make your life easier when performing hot weather applications by using vinyl films with repositionable adhesives. Applications are performed in less time. You will experience fewer mishaps. And because damage to graphics will be reduced, so will costly rework.
2. Choose a conformable film.
For applications to vehicle substrates with rivets, corrugations or compound curves, you need a flexible cast vinyl film that will conform to these irregular surfaces. Many non-cast films are not conformable enough for these applications.
3. Use a heavyweight application tape.
RTape premium grade application tapes are one mil thicker than standard grade application tapes. That little bit of extra paper can make a big difference in your shop and on the job site. (Read my story Why Use a Heavyweight Paper Application Tape.)
In the squeegeeing process, the added thickness of the premium tape gives extra body to flimsier films, so it is less likely that you will form wrinkles and bubbles, especially when applying vinyl over rivet heads.
Following an application, the premium grade heavyweight application tapes remove more easily in one sheet from the graphics, instead of coming off in little bits and pieces.
 4. Vinyl Application Practice.
Surely you have heard the axiom that perfect practice makes perfect. This rule especially applies to vinyl application. By attending workshops and watching videos you can learn the right way to install vinyl over rivets. Then it’s up to you to hone your newly learned skills with practice.
5. Vehicle survey.
Before you commit to a job, know what you are getting to. Conducting a vehicle survey will help you spot conditions that could cause vinyl failures. In your inspection of the vehicle, note the condition of the substrate. Check for rust, peeling or chalking paint, and surface damage requiring repair.
6. Planning the Vinyl Application.
Performing an application in an indoor facility is generally preferable to being at the mercy of the elements. In the bidding phase of the job, make arrangements to secure shop facilities. If your customer does not have a shop where you can work, you may need to rent space. Don’t forget to include the cost of shop rental in your quotation.
7. Surface preparation.
Generally, cleaning a trailer prior to graphics installation is a three-step process.
When scheduling a job, make arrangements for the vehicle to be washed the day before the application. This allows enough time for any moisture underneath the rivet heads and under the panel seams to dry completely.
Simply washing the trailers will not remove all of the surface contamination. On the day of the installation remove any residual tar, soot or grease with a cleaner, such as Du Pont’s™ 3919S PrepSol.
The final step is to wipe down the trailer with isopropyl alcohol (IPA).
After prepping the surface, moisture may still remain underneath the rivet heads and panels seams. By passing the flame of a propane torch over these areas, any residual moisture will evaporate. Using this process any dirt trapped under the rivets will be expelled as the water boils away.
(See 3-Step Prep for Vehicle Graphics and DuPont Surface Cleaners for additional information on surface prep.)
8. Vinyl Application Procedure.
a. Job layout.
Before starting an application, you will need to layout the job. After carefully studying the installation print, tape all of the graphics sections in place to ensure that all of the pieces fit. If the graphics are too large for the surface of the vehicle, adjust the layout. When you make these changes, record them on the installation print, so you can maintain the integrity of the design from one unit to another.
b. Using tape hinges.
Using a top tape hinge will aid you in the application of large letters. To create a top hinge, apply a couple of pieces of masking tape along the top edge of the premasked graphic. Using a scissors, cut between each of the letters and install each section separately, starting at the top of each letter.
c. Remove the release liner.
There’s a right way and a wrong way to transfer vinyl graphics from the release liner. The wrong way is to use the application tape to pull the vinyl off the liner. The right way is way is to peel the liner away from the vinyl, exposing the adhesive.
If you are installing a large panel, it would be prudent to remove a little of the liner at a time as you squeegee the graphic.
d. Squeegee the graphics.
To squeegee most graphics, begin in the middle of the graphic with a center stroke that divides the graphic into two halves. This initial stroke should serve as your centerline, with all subsequent strokes working away from this line.
Use firm strokes in the application process. As you making a pushing stroke, your thumb should be at the bottom of the squeegee. As you pull the squeegee, you fingers should be at the top of the tool. Each stroke must overlap the previous one. As you overlap the strokes, angle the squeegee slightly away from the centerline, as if you are forcing the air out from underneath the vinyl.
e. Repositioning the graphic.
If you encounter a problem when installing graphics, such as wrinkle or bubble, you will need to reposition the film. The technique in repositioning involves snapping the graphic from the substrate with a quick, jerking motion. The snapping movement should pull the vinyl film perpendicularly off of the substrate.
In repositioning the graphic, don’t make the mistake of slowing pulling the pliable cast vinyl film from the surface. All that you will accomplish is to distort the film.
f. Cutting the vinyl along the panel seams.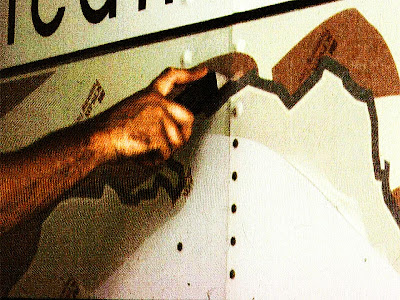
Before removing the application tape from the graphic, cut the film at the edges of the panel seams. After cutting the film, use the edge of your squeegee to tuck the film into the panel seam.
g. Removing the application tape.
Remove the application tape by carefully pulling it 180° against itself. If the application tape is not easily removing from the vinyl, you can expedite the process by spraying the backside of a paper tape with application fluid. The fluid will penetrate the paper and soften the adhesive, allowing the tape to release more quickly.
h. Puncture the film around the rivet heads.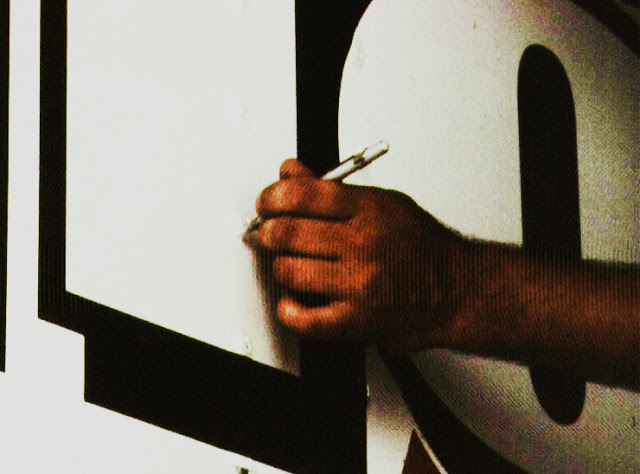
Using an air release tool or pin, puncture the vinyl in several places around the rivet heads. The holes will allow the air to escape as you burnish the graphic around the rivet.
i. Burnishing the film around the rivets.
Installers use either a squeegee or a rivet brush to burnish a vinyl film around rivet heads. A rivet brush is generally the tool of choice for most people. Using a rivet brush is a three-step process.
The first step is to brush the large bubble around the rivet head with a firm, back and forth, horizontal stroke. Brushing the rivets with short, choppy strokes will compress the large bubbles into a much smaller bubbles.
The second step is to heat the vinyl with an industrial heat gun or a propane torch. Whatever application technique or tool you use, successful graphics applications to rivets require heat and good mechanical pressure. Heat is important in these applications because it softens the vinyl, letting it conform to the irregular shapes of the corrugations and rivet heads.
The final step is to use a rivet brush in a circular motion to burnish the vinyl around the rivet heads. As you burnish the film to the head of the rivet, rotate your wrist so the bristles are angled at 45° to the edge of the rivet head.
j. Resqueegee all graphic edges.
After the application tape is removed, use a squeegee covered with a low-friction sleeve to squeegee the entire graphic again. This step prevents edge lifting and ensures good adhesion.
k. Inspect your job.
Before you pack up, always inspect your work to make sure that the vinyl conforms tightly to rivets and that there is no lifting of the film at the edges.
l. Edge sealing.
Some films, such as reflective sheeting and our VinylEfx films, should be edge sealed to prevent edge lift. Using a fine tipped brush, paint the sealer with a ¼” stroke, half on the vinyl, half on the substrate. Or you can use a Seal-It Pen for edge sealing, as shown in the picture below.
m. Clean up.
When the job is done, remember what your momma repeatedly told you: “Pick up your mess.”


