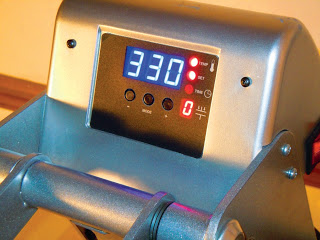
Successful application of heat transfer materials depends on three primary variables: time, temperature and pressure. Not all heat transfers heat press at the same setting. Hotter is not always better. In fact, higher temperatures can make matters worse. Before heat pressing, refer to the manufacturer’s literature for the recommended time and temperature settings.
Pressure is equally important. Many times a heat transfer will not adhere properly because of inadequate pressure. Increasing the temperature setting or dwell time usually will not help. The manufacturer of the heat transfer material will have recommendations for the correct settings in their technical bulletins.
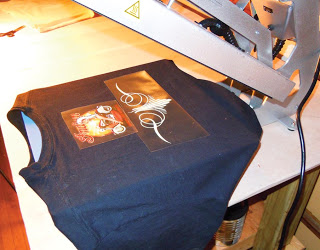
Registering Graphics
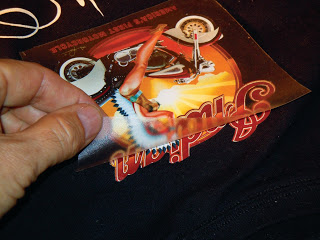
Removing Carrier
Proper Prior Preparation. Most of the standard heat transfer films are designed for application to cotton, polyester and cotton/polyester blends. Prior to production, refer to the manufacturer’s literature regarding compatibility of the film to the fabric. Some fabrics, such as the popular performance fabrics or nylon, required either a low temp film or an adhesive designed for coated fabrics. If you have any questions, call your supplier. Usually they will have the information you need. Of course, since the manufacturer cannot possibly test and evaluate every film/fabric combination for compatibility, you may need to test the film yourself to ensure its adhesion.
Layering Graphics. Combining different materials in apparel design creates visual excitement, which can be your competitive edge in selling heat transfer graphics. Think of the possibilities of combining colored flex films with a metallic film or a flock film. You can create designs that are unique and different and difficult to reproduce using other techniques, such as screen or digital printing.
The layered graphic shown below combines a black polyurethane base film with a silver metallic flex film and a red flock film overlaying it.
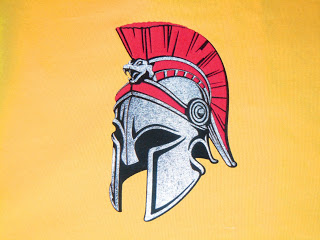
Finished HTM Graphic
Layering multiple color designs involves cutting, weeding and heat pressing each color of film separately. In heat pressing one color over another, make sure that the carrier covers and protects all of the different layers which have been applied.
About the author . . .
Jim Hingst, is a recognized authority in the field of vinyl graphics application. In Vinyl Sign Techniques, Hingst provides a comprehensive guide to the vinyl graphics business. Built around his firsthand experiences working for major fleet graphics screen printers and pressure sensitive manufacturers, Hingst offers a perspective on the vinyl business that thoroughly covers sales and marketing, materials, fabrication, and installation and removal of vinyl products of all kinds. Vinyl Sign Techniques has something for everybody in the vinyl graphics business. Hingst’s book, provides ideas and techniques for graphics fabricators and installers along with advice for executives and salespeople that will result in higher sales and profits.
As seen on hingstssignpost.blogspot.com.


