For most chip carving projects, you are typically cutting very small chips in a soft wood, such as basswood, butternut or pine. By combining just few basic incised shapes, you can create an array of intricate and beautiful decorative patterns.
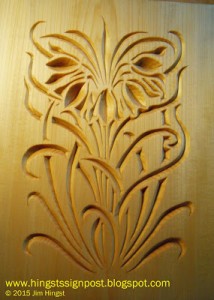
Because you are usually cutting out pieces of wood no wider than a ¼” and no deeper than a ¼”, all you need to begin carving are a few specialized knives. The photo below shows a chip carving with very shallow cuts. My favorite knife is the Wayne Barton chip carving knife, but I also use a Flexcut knife. Removing a chip of wood generally only takes a two or three simple but precise cuts. With a razor sharp knife, carving is effortless.
If, on the other hand, your design involves removing larger chips of wood, the carving process will definitely be more challenging. Deep cuts involve slicing through more mass, which require more force. Not only is this more difficult, but when you exert more force on the blade, you potentially could lose control of your knife.
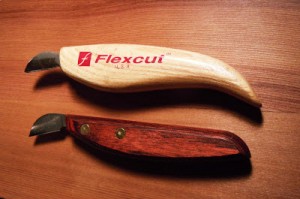
Two of my favorite chip carving knives are the Wayne Barton and Flexcut knives pictured above.
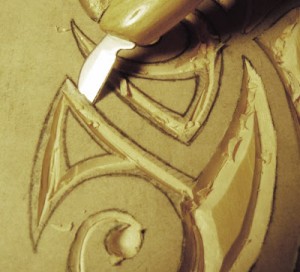
To reduce the amount of resistance that the blade encounters, I use a relief cut to clear out the excess wood. That way the knife more easily slices through the wood, so you can better control your cuts. As a result, accidental cuts are less likely. I also believe that relief cuts can also reduce the likelihood of tear out. The best way to carve a relief cut is to use a V-parting tool (as shown in the photo below).
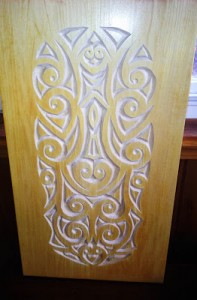
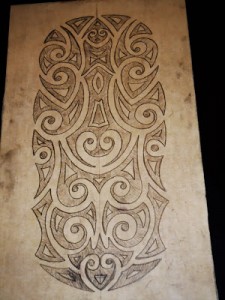
Prior to any carving, I first cover the wood with RTape 4075RLA high tack application tape. Then I transfer the design to the wood, using Saral paper, which is similar to carbon paper. Because it is easy to get lost in the confusion of so many lines, I shade in the areas where the wood should be removed. See the picture below. The helps prevent making the wrong cut, which can be disastrous.
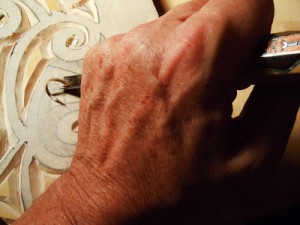
After I have made all of my relief cuts, I cut along the outside lines, holding the blade at a 65° angle. If you hold your thumb tight up against the handle of the knife, it is impossible to cut yourself.
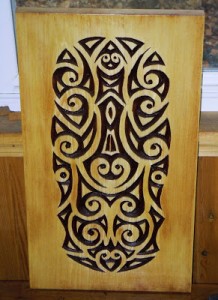
After you have made all of your cuts, carefully inspect your job and do any clean-up work required.