What is a Green Man?
Images of men emerging from vegetation have been a common artistic motif for more than two thousand years. Some scholars believe that the image of the “green man” is somehow linked to the ancient Dionysian fertility rituals and the natural process of rebirth, which occurs in Spring. But what do these academics know?
 Whatever the roots are for these carvings, green men evolved into decorative architectural ornaments used to adorn castles, cathedrals and public buildings from the medieval and Renaissance periods until today. In England the image of the green man was even a common artistic motif used on pub signage.
Among woodcarvers and artists today, the pagan image of the green man has survived the ages of enlightenment and industrialization. I can’t explain what possessed me to carve a green man. Perhaps I was possessed by an uncontrollable Jungian impulse inside all of us. After all, who hasn’t carved a pumpkin, arguably a form of green man?
The Carving Process
As with any carving, I first like to sketch a full-scale drawing of the design on paper. That way, I can easily transfer the design directly on the wood. After I carve away the transferred drawing on the wood, I can refer to the sketch and redraw the design as needed.
In the carving shown in this article, I began with a basic layout from a Chris Pye book. Pye is one of the most talented and best known woodcarvers in the world. My finished carving is very similar to his carving, with a few modifications. To my way of thinking, there is nothing wrong with copying another design, if you make a few changes which can make the piece uniquely yours.
For this project I used basswood. Basswood, tupelo and pine are soft woods, which are very easy to carve, especially if you are a beginner. I special ordered a 2” x 18” circular blank from Heinecke Wood Products in northern Wisconsin(www.heineckewood.com). Heinecke always delivers good quality products at reasonable prices. Even though all of the blanks that I order are all special sizes, I usually receive delivery in about a week.
Before transferring the design to the wood, I shaped the piece from 2” thick in the center to 1” thick along the outside edge. See photo A.
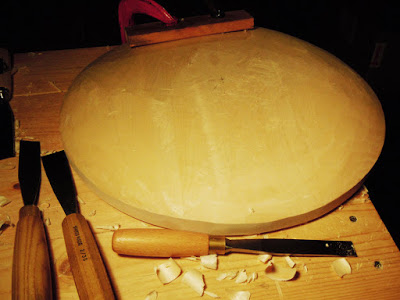
Photo A.
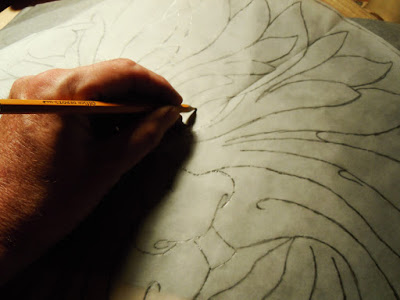
Photo B.
Photo C shows the design transferred to the wood. Using a V-parting tool I carve into the wood where the pencil marks are.
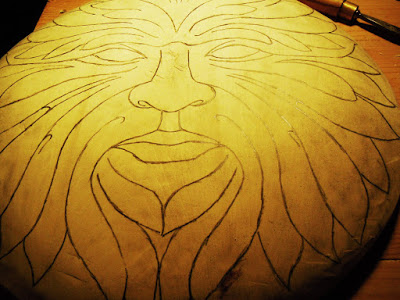
Photo C.
Using #5 and #7 gouges, I begin roughing out the major features of the design, as shown in photos D and E.

Photo D.
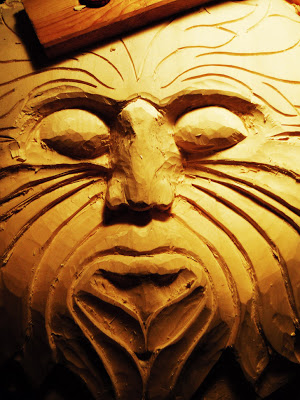
Photo E.
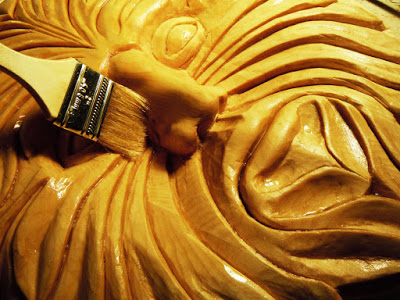
As I was carving, I periodically checked the depth of the recesses, so I didn’t cut clear through to the other side. After roughing out the design, I carved the details as shown in photos F and G.
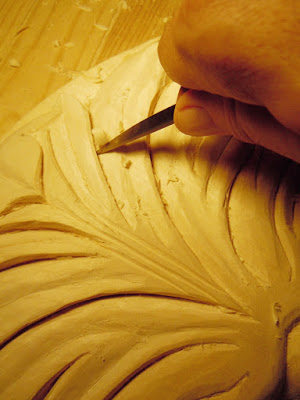
Photo F.
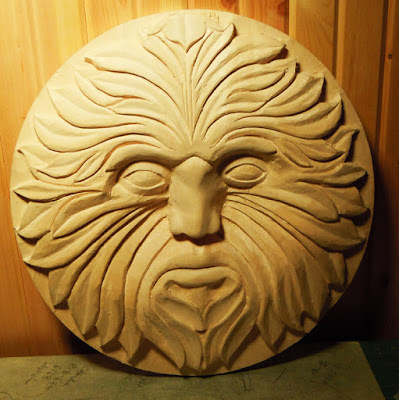
Photo G.
As seen on hingstssignpost.blogspot.com


