
Heat transfer materials are comprised of either polyurethane, vinyl or flock facestocks coated with a heat-activated adhesive, and laminated to a plastic release liner or carrier film. Using a plotter cutter to cut heat transfer vinyl is a little different than cutting pressure sensitive vinyl. Some problems have resulted from using a dull blade. Other problems resulted because the blade depth was set incorrectly or the downforce pressure was too high. To help remedy these problems, I have compiled a few basic tips and tricks.
Selecting the Right Plotter Blade
Most polyurethane heat transfer films, heat transfer vinyl and flock films cut easily using a standard 45⁰ blade.
Thin, soft and elastic materials may cut better with a 30° blade, because the cutting edge used is longer and the more obtuse angle ensures that the material is not pushed in front of the knife.
When cutting thicker materials you may need to use a 60⁰ blade to ensure that the blade can turn easily.
Flock films, such as VelCut Evo, with a thickness of 500µ seem to be thick, so many people use a 60° blade for flock. But you don’t have to cut the flock fibers, you only have to cut the hotmelt film and the flock adhesive and this is only slightly thicker than a standard flex-film.
The more obtuse angle ensures, again, that the material is not pushed in front of the knife.
Regardless of the blade angle make sure that the blade is sharp, otherwise don’t expect clean cuts.
Adjusting Blade Depth
Not only for flock, but for all material, one of the first adjustments that you should make in setting up your plotter is setting the blade depth. The blade should come out of the blade holder only for the thickness of the material to be cut. Setting the blade depth much greater than necessary can result in dulling the blade faster, in a faster attrition of the blade holder and the cutting strip. Cutting too deeply into a release liner or carrier can also cause the blade to chatter resulting in a ragged edge of the cut media.
The blade should cut completely through the film and only slightly score the surface of the carrier or release liner. You should never cut so deeply that you can feel the cut lines on the backside of the carrier. Adjust the blade in its holder according to your test cut results.
Adjusting Blade Offset
Blade offset is the distance between the tip of the cutting blade and the center of the blade. This distance will vary depending on the blade used. For accurate cuts, especially at the corners, you must adjust your plotter’s offset setting to the manufacturer’s recommendations. In many cases this setting is frequently ignored. Improper settings are not difficult spot. A telltale sign that the offset value is too low is that the outside corners are rounded off. Conversely, if the corners protrude or end in a spike, the value is typically too high.
Downforce
Downforce describes the amount of pressure (generally designated in grams) that is applied to the cutting blade. Cutting polyurethane may take as little as 70 to 90 grams of pressure or less. Generally, much less pressure than you need when cutting pressure sensitive vinyl. Flock films will cut easily too, usually at about 100 to 120 grams. The ideal setting is to use the least amount of force to accomplish the job. If the plotter is not adequately cutting the media, first check the cutting depth. If that is set properly, adjust the downforce. In many cases the remedy is to decreases not increase the cutting pressure.
Cutting Speed
When you’re plotter cutting designs with intricate details, you will most likely need to slow your cutting speed. Most people think that this is also true when cutting elastic heat transfer films, such as SEF’s FlexCut Sweet, which are very stretchable. But it’s not the case. With elastic materials you should also try to speed up your cutting speed. Ripe tomatoes, for example, cut easier when you cut them quickly. The same principal holds true for flex film.
Test Cut
After you load the media in your plotter and before you run a job always do a test cut. Check that the depth of the cut is completely through the media but only lightly scoring the carrier or release liner. Make sure that you cannot feel the cuts on the backside of the carrier. Cutting too deeply is as much of a problem as not cutting deeply enough.
If you are cutting square shapes, one inside another, as part of your test cut protocol, check that the corner cuts are precise. And if you cut concentric circles, see that the lines meet cleanly after the blade makes a full circuit.
Troubleshooting
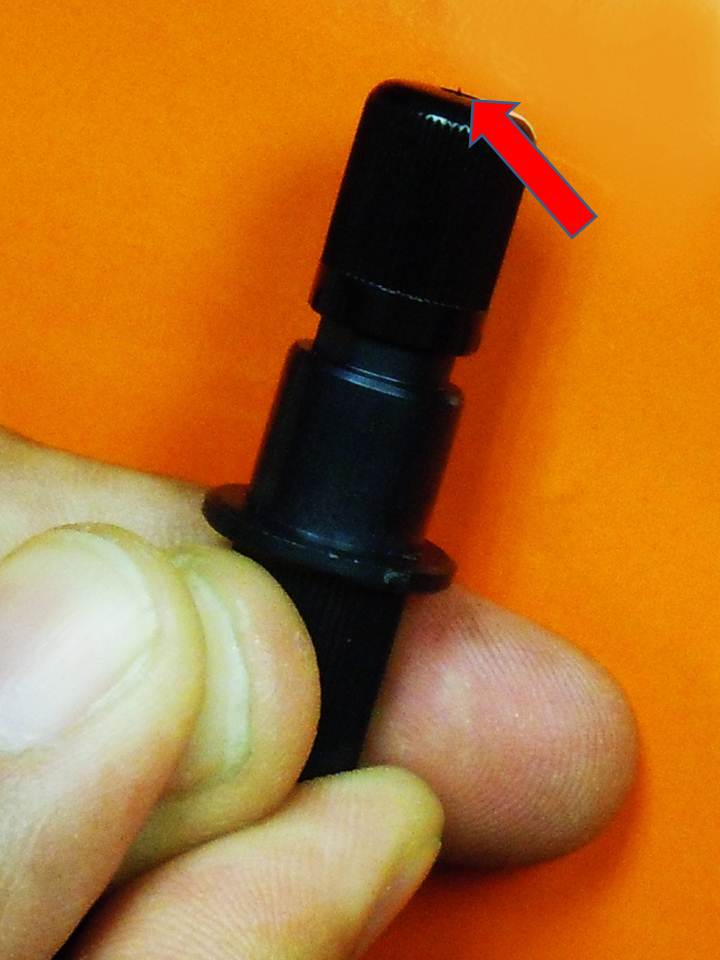
If you are following all rules and still have problems, check the blade holder. The blade holder is the most stressed part of the plotter. Make sure the blade turns easily and that there is no play in the ball bearing. A drop of oil in the ball bearing can be helpful. Otherwise think about replacing the blade holder.
Vinyl Weeding Tools and Weeding Tips
Cut a square around each text line, so you can weed line by line. It sure helps if you can see what you are doing. Good lighting is essential when weeding any type of plotter cut films. For detailed work, a magnifying hood is great for weeding an intricate design. Keep your work surface clean. Dispose of weeded material so you don’t end up with extraneous piece inadvertently stuck to the carrier of the applique and then heat pressed onto the garment. Using good vinyl weeding tools will make weeding easier so you can be more productive. Everyone has a favorite tool. For some, knifes, air release tools, or tweezers are the tools of choice. Personally, I like the dental pick type of vinyl weeding tools. Pick the centers of the letters first, and then weed the outside matrix. When weeding plotter cut graphics (reverse cut), start from the left side of the reading and work to the right. For printed and cut graphics that are right reading, work from the opposite direction.


