To help you in working with application tape, I have compiled some tips and tricks. This guide covers laminating the tape onto graphics, transferring graphics from the release liner and the basics of application. As important as this is, it’s also important to select the right tape for the job. RTape offers several adhesive-tack levels for each paper grade. In selecting the right tape, the general rule of thumb is:
- For small, computer-cut lettering or general sign work, use a high-tack tape, such as 4075RLA or 4076RLA.
- For large- to medium-sized lettering and banner applications, use a medium-tack tape, such as 4050RLA .
- For large-format digital prints, use a low tack tape, such as 4000, 4000RLA or DigiMask Clear.
Laminating Application Tape.
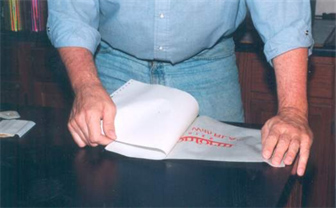
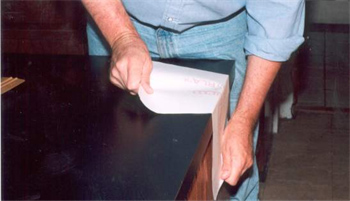
In laminating application tape to a graphic, use a single tape sheet (rather than overlapping pieces) to cover the graphic. Otherwise, a fine line of tiny air bubbles will appear where the tape pieces overlap. An easy way to hand apply application tape to a graphic with a minimum of problems is to “stick it in reverse” as explained in my article: Laminating Application Tape and Hot Mask Films. Using this method, unwind the application tape so that the adhesive side of the tape faces upwards and the facestock is against your work surface. Turn the weeded graphics so that the vinyl film faces down and lay the graphics panel on top of the sticky side of the application tape. See the photo below.

Using a hard, nylon squeegee and good squeegee pressure laminate the application tape to the vinyl graphic with overlapping strokes. Avoid trapping air bubbles between the vinyl graphics and application tape. Bubbles and wrinkles in the application paper generally result in bubbles and wrinkles in the applied graphics. Working on a smooth work surface without knife cut marks will prevent the creation of bubbles. During the lamination process, avoid stretching the application tape — stretched tape usually shrinks and causes the vinyl graphic to curl.

Link to Vinyl Application Videos
Transferring the Graphic.
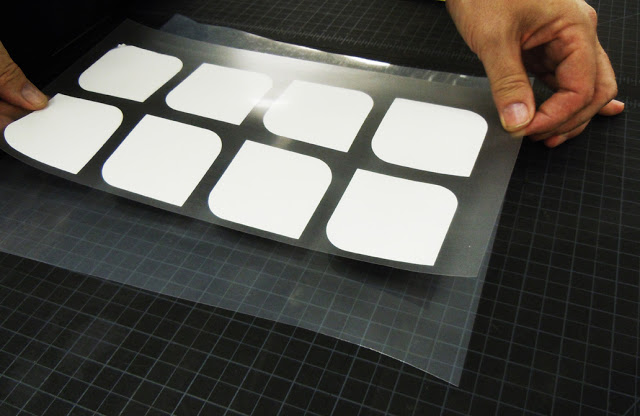
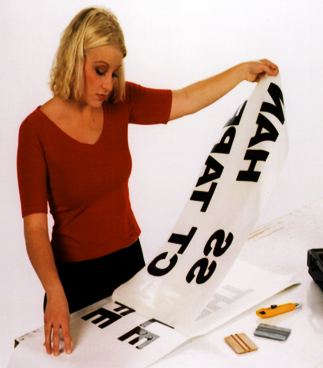
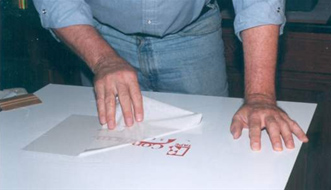
Turn the graphic over so the application tape is against your work surface. Remove the release liner from the graphic exposing the adhesive side of the graphic, peeling the liner 180⁰ against itself.
Attempting to peel the graphic from the release liner can result in transferring problems as shown below.
If the graphics release with difficulty from the release liner, rub the back of the liner against a sharp edge of your work table. This step helps break the bond between the graphic and the release liner.
Surface Preparation.
Before performing any application, always clean the substrate. See my article: 3-Step Prep for Vehicle Graphics. Wipe the surface of the substrate with a rag saturated with solvent. Then dry the surface with a lint-free paper towel before the solvent dries.

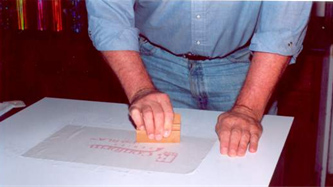
Squeegee Technique.
When squeegeeing the graphics, use good pressure to force all of the air from under the vinyl film. Start in the center of the graphic and squeegee outward to force out the air from underneath the graphics. Remember, you’re applying a pressure-sensitive film. It’s called “pressure-sensitive” for a reason, so apply some pressure.
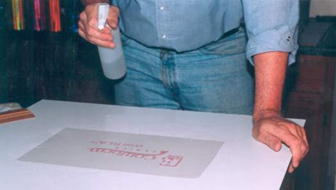
Tape Removal.
In removing the application tape, carefully pull the tape 180° against itself. This tape removal procedure prevents you from pulling the graphic off of the substrate. To minimize edge lifting, use a squeegee covered with a low friction sleeve to resqueegee the entire graphic, especially the edges. The low friction sleeve will prevent the squeegee from scratching the graphic.
If an application-paper tape isn’t releasing easily following an application, lightly spray the paper with application fluid, wait approximately 30 seconds and then remove it. The application fluid will penetrate the paper facestock and soften the tape’s water-based rubber adhesive, causing it to release more easily from the graphic.